Custom Pickleball Paddle

Over the years, I have fallen in love with the sport of Pickleball. For years I have consistently played with a cheap wooden paddle I purchased from Walmart. After playing with my paddle for so long, I thought to myself, “I can make a better paddle than this,” and so I did.
Paddle Design & CNC:
First step in my design process was to figure out and finalize my paddle shape. I used my old wooden paddle as a reference because I liked the overall size of it. The next step was to cut the shape out. Luckily I was already using my University’s Laguna Swift CNC machine for a different furniture project, which can also be found on my website homepage, so I was able to squeeze my paddle design in the empty space on my wood sheet.


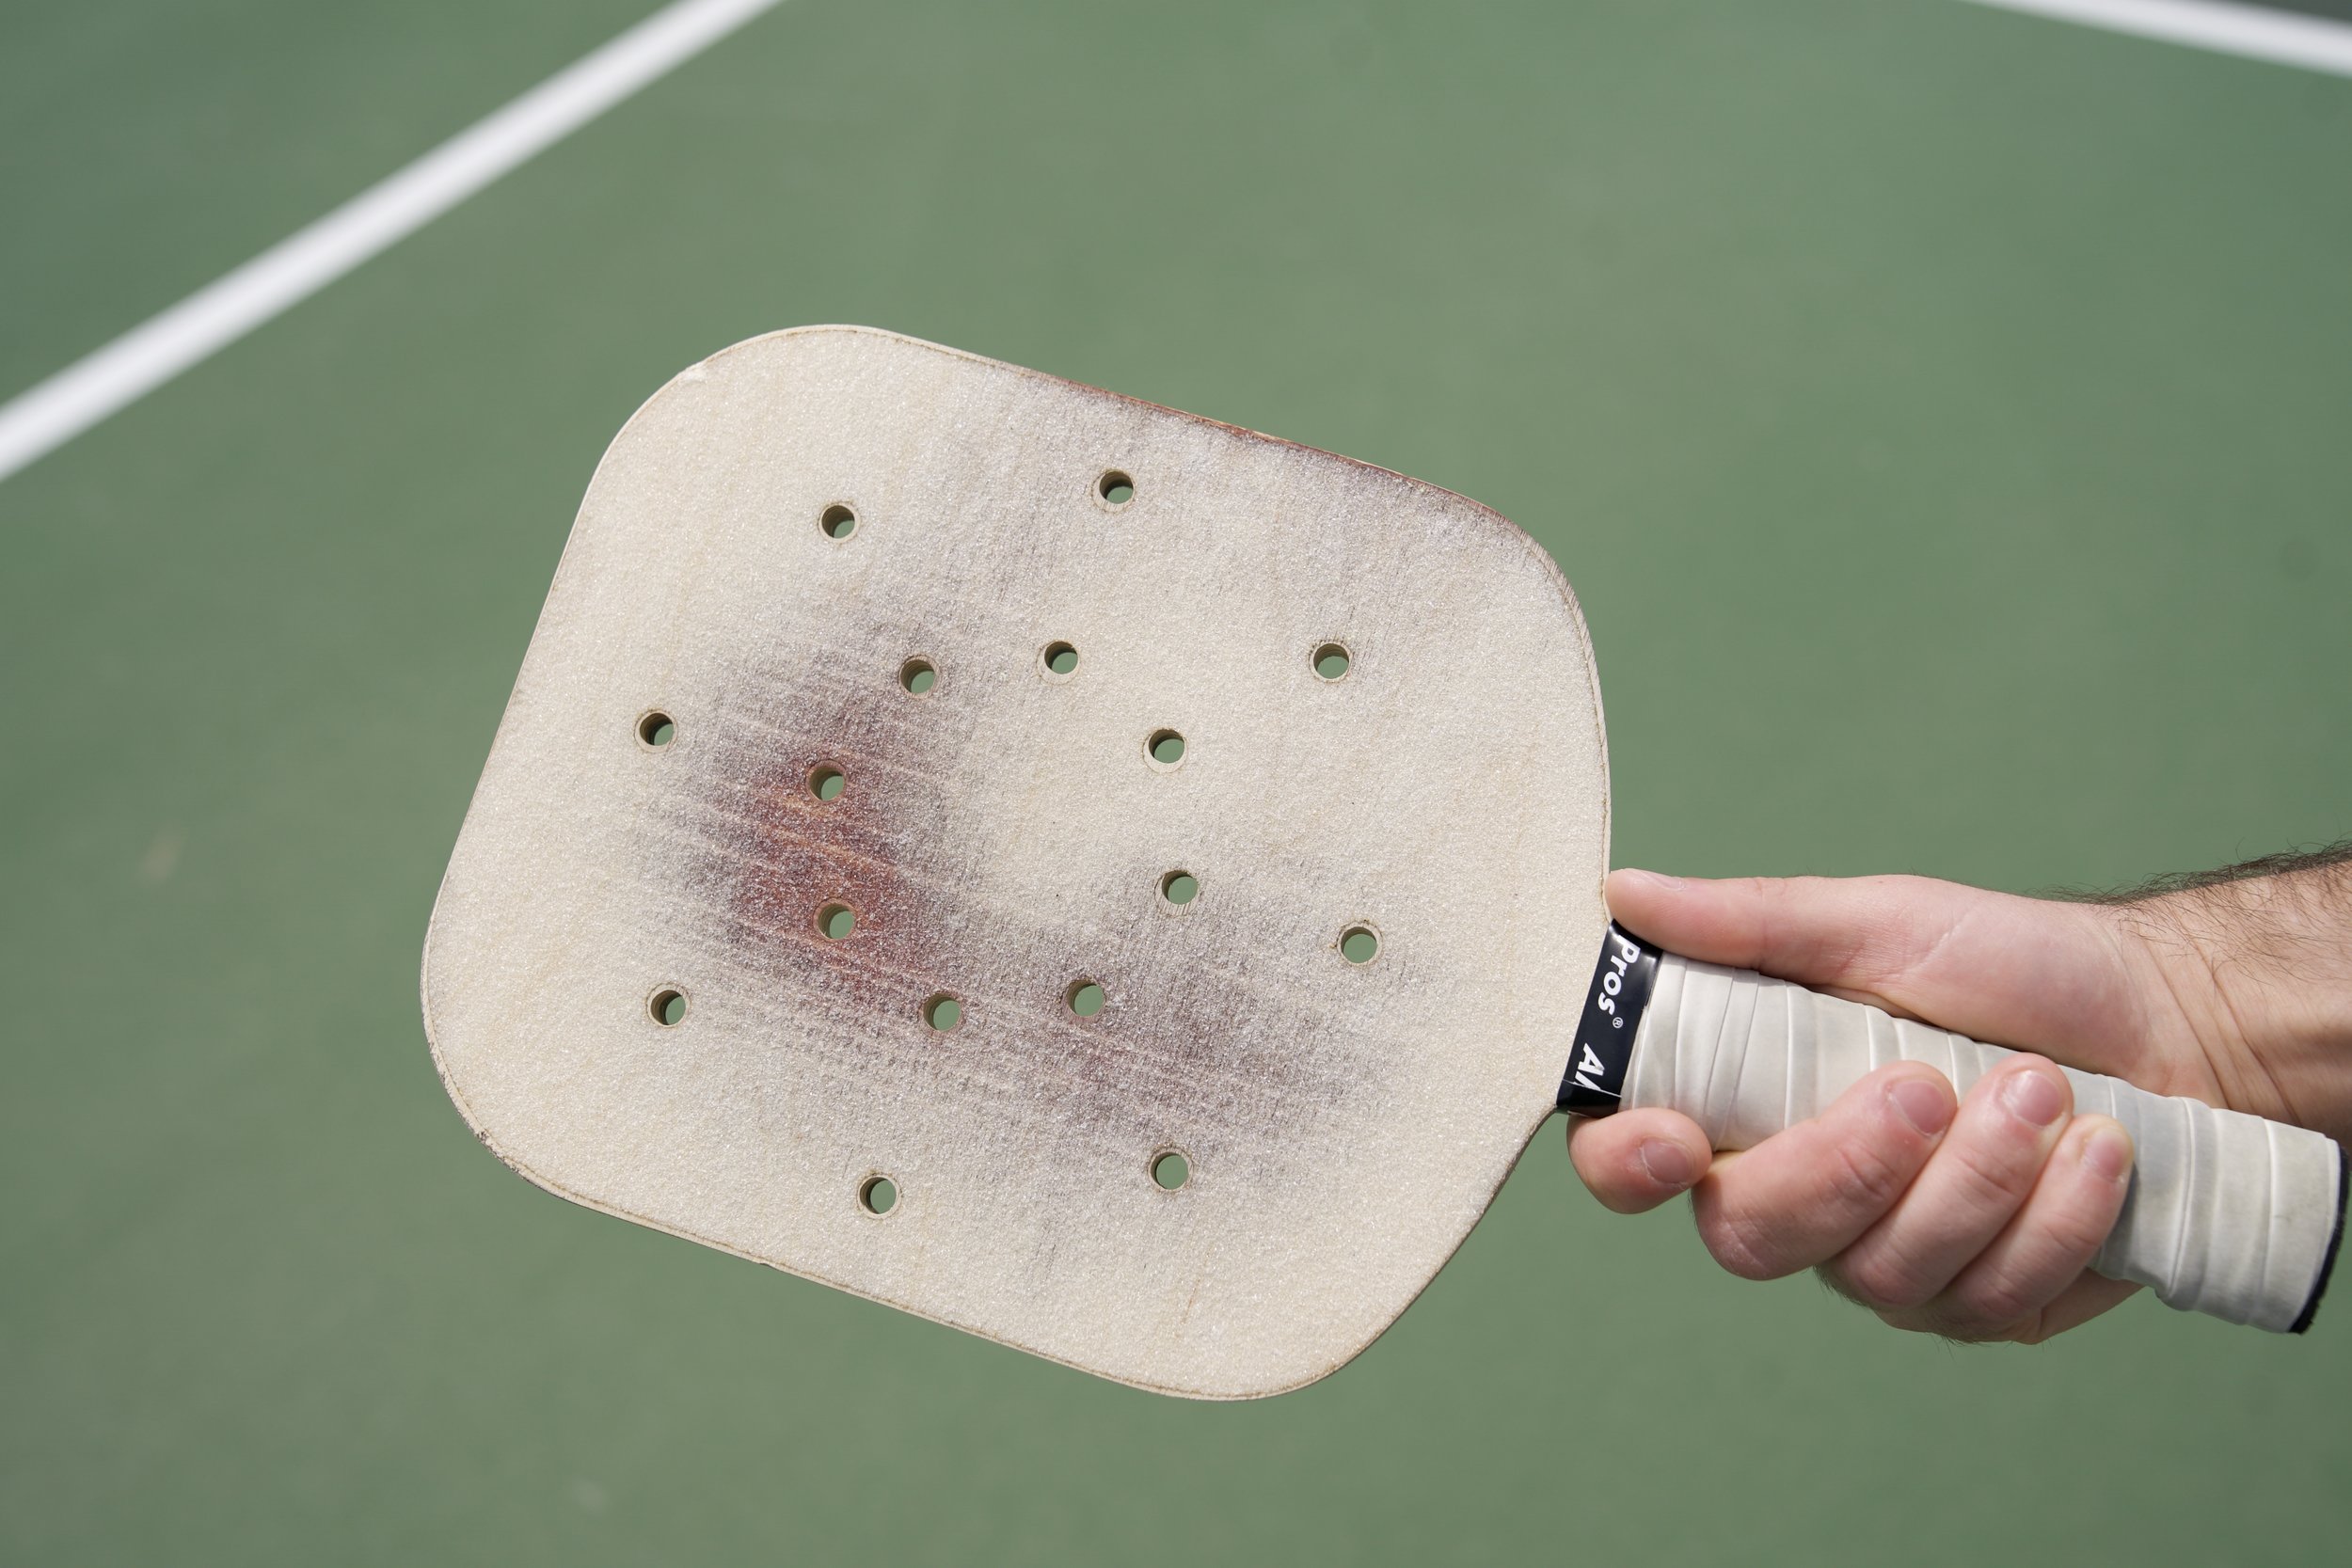
Texture:
What can be a big game changer in the game of pickle ball is adding spin to your hits. It’s a great way to throw off your opponent if they don’t know where the ball will spin towards after it bounces or flies through the air. How this spin is achieved is with grip on your paddle surface. Like I said previously, I enjoy using a wooden paddle for the weight but the issue comes with how smooth the wood is. There is no grip which makes adding spin to my hits quite difficult. I needed to figure out a way to add texture to the wood. I thought I would maybe sand down the surface or laser engrave a texture but then my idea hit me. Skateboarders need texture on their boards to perform tricks, what if I used skateboard grip tape as a decal on my paddle for texture.

Texture Cutout:
I still wanted to see the wood grain on my paddle so I ordered a clear roll of skateboard grip online. The next step was to cut the grip tape out with the same size as my paddle. I made a file on Adobe Illustrator, making sure to match the design of my paddle. I then used the file on my University’s laser cutter and cut out the shape to make sure it fit perfectly. This is a much better method than cutting the grip tape by hand because the laser cutter will ensure a clean and precise cut.


Final Assembly:
Once the texture and paddle were all cut out, it came time for the final assembly, which includes the handle. I lined up the grip tape and placed it on the paddle and it all fit perfectly and felt great. In order to round out the handle to fit better in your hand, I used the plastic handle pieces from the previous paddle and added it to my new one. The finishing touch was to order a handle wrap online to finish the build.


FINAL RESULTS